How to create your first Minecraft Server
A step-by-step guide to setting up, configuring, and launching your server on Deduck Hosting.
1 Creating your Deduck Account
Before you can launch a server, you need to join the Deduck Hosting community. Our registration process is streamlined and privacy-focused, we don't ask for credit card details or intrusive personal information.
Pro Tip:
Use your Discord account to sign in for instant access and to automatically join our community support server.
2 Initiating Server Creation
Once logged into your dashboard, click on the "Create Server" button. You will be prompted to give your server a name. This name is for your organization only and can be changed later.
Our automated provisioning system will then assign you a high-performance node. Unlike other free hosts, we use **Enterprise Epyc & Ryzen** hardware to ensure that even our free tier feels premium.
3 Choosing your Server Version
Minecraft changes rapidly. Whether you want the latest 1.26.x features or you're a purist looking for 1.8.9 PVP stability, we've got you covered.
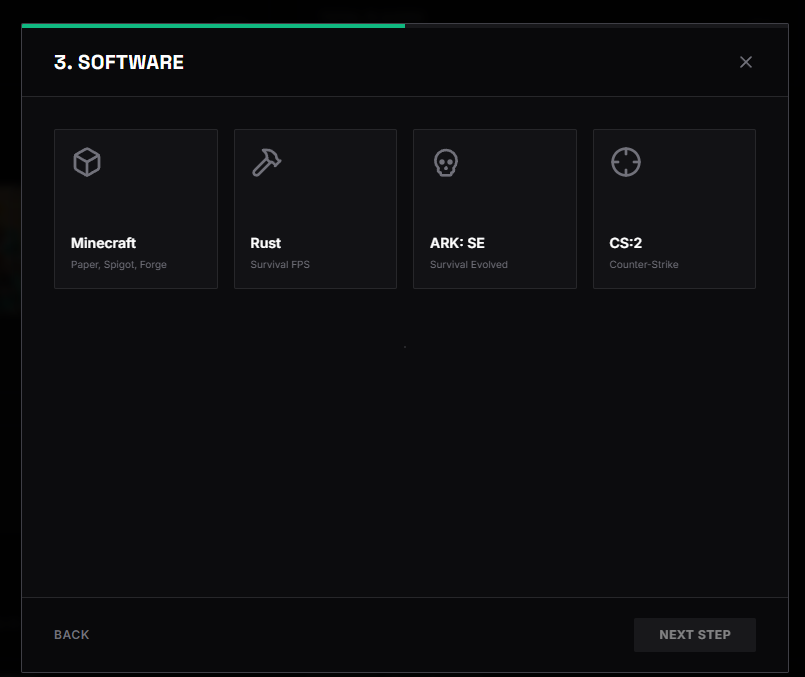
- Java Edition: Best for PC players and massive plugin support (Paper, Spigot, Fabric).
- Bedrock Edition: Best for friends on Console, Mobile, or Windows 10 editions.
- Snapshot Versions: Try out the brand new features before anyone else.
4 Connecting your Minecraft Client
After your server status turns ONLINE, copy the Address provided (e.g., myawesome.deduck.de).
- Open Minecraft and go to Multiplayer.
- Click Add Server.
- Paste the address into the Server Address field.
- Click Done and Join.
5 Common Troubleshooting
If you can't connect, first check the server console. Most connection issues are caused by:
- Version Mismatch: Ensure your game version matches the server version.
- Whitelist: If enabled, ensure your username is added via
/whitelist add username. - Server is Sleeping: If there were no players, you may need to 'wake' the server from the dashboard.
6 The Final Hurdle: Accepting the EULA
Mojang requires all server owners to agree to their End User License Agreement (EULA). Your server will not start until this is accepted. On Deduck, you can find the eula.txt in your File Manager. Change eula=false to eula=true and save the file.
By accepting the EULA, you agree not to sell in-game items that provide a competitive advantage (Pay-to-Win). We highly recommend reading the latest Guidelines on the official Minecraft website to ensure your community remains compliant.
Was this guide helpful?
If you're still running into issues, reach out to us. We're here to help.